
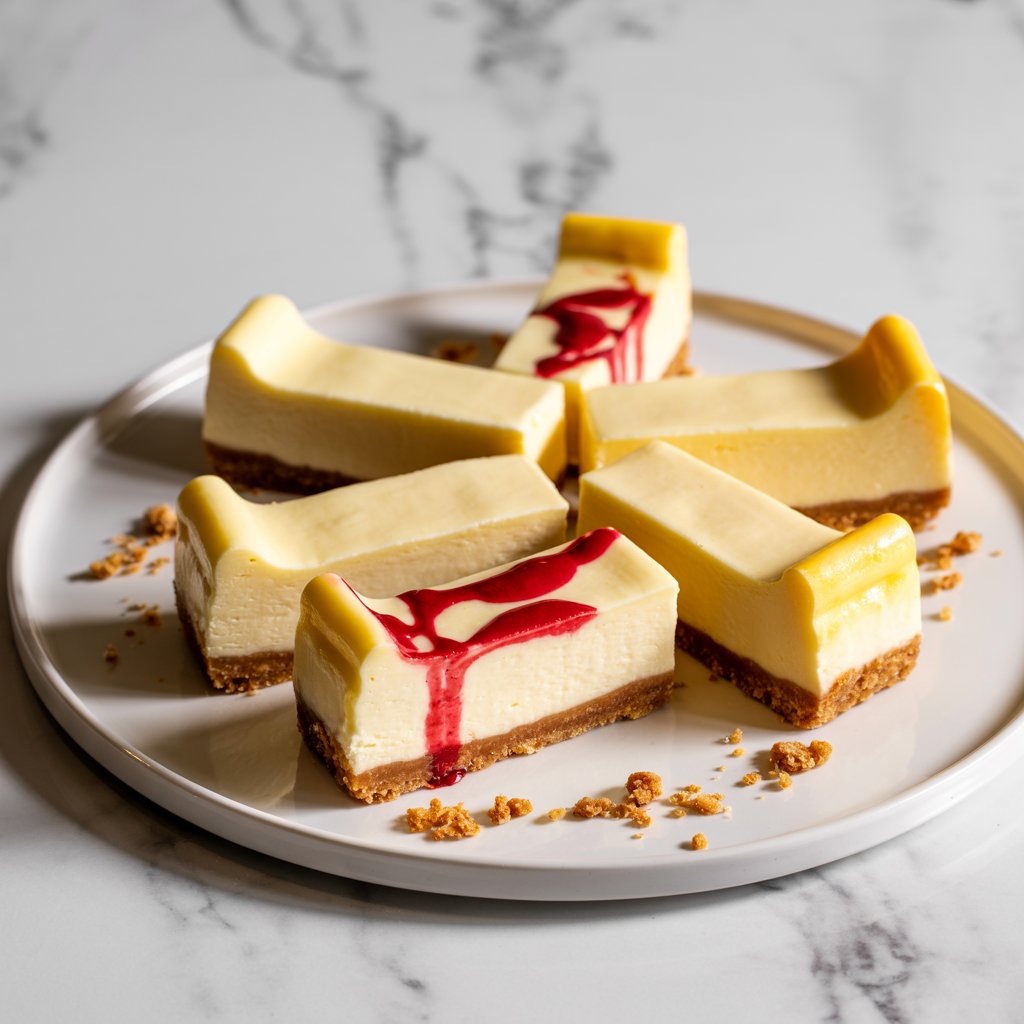
If you’re craving a decadent dessert that’s both creamy and convenient, cheesecake bars are your new go-to treat. With their irresistible layers and easy-to-share squares, these bars deliver all the rich flavor of traditional cheesecake—without the fuss. Get ready to discover your next favorite dessert!
| Servings: | 16 |
| Prep Time: | 15 minutes |
| Cook Time: | 40 minutes |
| Total Time: | 55 minutes |
| Serving Size: | 1 bar |
Ingredients
- 1 and 1/2 cups graham cracker crumbs
- 1/4 cup granulated sugar
- 1/2 cup unsalted butter melted
- 16 ounces cream cheese softened
- 2/3 cup granulated sugar
- 2 large eggs
- 1/2 cup sour cream
- 1 teaspoon pure vanilla extract
- 1 tablespoon all-purpose flour
- 1/4 teaspoon salt
Equipment
- 9×9 inch baking pan
- Parchment paper
- Mixing bowls
- Hand mixer or stand mixer
- Measuring cups
- Measuring spoons
- Rubber spatula
- Knife for slicing
Instructions
- Step 1: Preheat your oven to 325 degrees Fahrenheit. Line the bottom and sides of a 9×9 inch baking pan with parchment paper, leaving a slight overhang. This makes removing the bars from the pan so much cleaner and easier later.
- Step 2: In a bowl, stir together the graham cracker crumbs and 1/4 cup of sugar. Drizzle in the melted butter and mix until the crumbs resemble wet sand. Press this firmly and evenly into the bottom of your prepared pan. I like using the bottom of a flat measuring cup to really compact it.
- Step 3: Bake the crust for 10 minutes. Remove from the oven and let it cool a bit while you prepare the filling. This quick bake helps set the crust so it holds up once the creamy filling goes on top.
- Step 4: In a large bowl, beat the softened cream cheese until completely smooth and creamy. Make sure your cream cheese is truly soft or you may end up with small lumps in your filling.
- Step 5: Add 2/3 cup sugar and mix until well combined. Scrape down the sides of the bowl so everything blends evenly.
- Step 6: Beat in the eggs one at a time, mixing just until incorporated after each one. Overbeating can introduce air which can cause cracks later, so take it easy here.
- Step 7: Stir in the sour cream, vanilla, flour, and salt. Mix until smooth. The sour cream adds a lovely tang and keeps the texture extra lush.
- Step 8: Pour the creamy filling over your crust and smooth with a spatula so it reaches every corner.
- Step 9: Bake for 30 to 35 minutes. The edges will look set while the center will still slightly jiggle. Resist the urge to bake for longer — the bars will continue to cook a bit as they cool.
- Step 10: Cool the bars in the pan at room temperature, then chill in the fridge for at least 4 hours. This patience pays off with a texture that is dense, creamy, and absolutely dreamy.
- Step 11: Once firm and chilled, lift the cheesecake out using the parchment overhang and slice into squares. For the cleanest cuts, wipe your knife between each slice.
Nutrition per serving
| Calories | 240 |
| Protein | 4g |
| Carbohydrates | 20g |
| Fat | 17g |
| Sugar | 13g |
| Fiber | 0g |
| Sodium | 160mg |
Description
Imagine biting into a buttery graham cracker crust that gives way to a silky smooth layer of creamy cheesecake, all baked to perfection in one easy pan. These cheesecake bars are the ultimate comfort dessert — like your favorite New York-style cheesecake, but perfectly portioned and ready to share. Each square is rich yet balanced with just the right amount of sweetness and tang. The contrast between the crunchy crust and velvety filling creates a crave-worthy texture that makes this treat unforgettable.
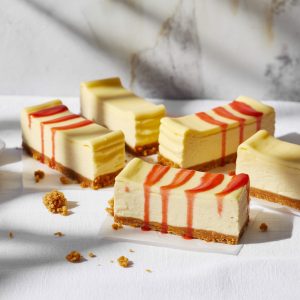
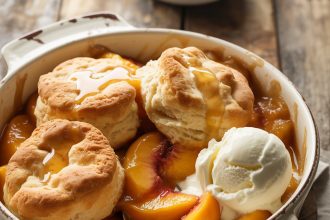
Cheesecake bars bring pure joy to any table. Whether served chilled at summer picnics or offered as a festive holiday dessert, they evoke the warm familiarity of home-baked love. Top them with seasonal fruit compote or enjoy them plain — either way, the balance of dense creaminess and golden crust is a crowd-pleaser that will have your guests asking for seconds.
Why You’ll Love This Recipe
These cheesecake bars offer all the indulgence of traditional cheesecake with a fraction of the effort. No water bath required and no springform pan needed. Perfect for potlucks, dinner parties, or just an indulgent night in, they slice cleanly and travel well. You can make them in advance and store them for later without sacrificing flavor or texture.
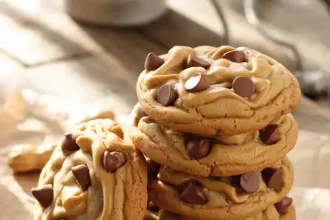
This recipe is also incredibly flexible. Keep them classic or customize with a swirl of fruit puree, a drizzle of chocolate, or a handful of nuts mixed into the crust. With ingredients you likely already have in your kitchen, these cheesecake bars can be whipped up anytime the craving strikes.
Serving and Storage Tips
For best flavor and texture, cheesecake bars should be fully cooled and then chilled in the refrigerator for at least 4 hours or overnight before slicing. Use a sharp knife wiped clean between each cut for neat squares. Serve them straight from the fridge or let them sit at room temperature for 10 minutes for an extra creamy texture.
To store, place cheesecake bars in an airtight container and refrigerate for up to 5 days. They also freeze beautifully. Simply wrap each bar individually in plastic wrap, then place them in a freezer-safe bag. Thaw in the refrigerator overnight before serving.
For a fun twist, add a spoonful of fruit jam or swirl strawberry puree into the batter before baking. Chocolate chip or crushed nut variations are also delicious. Be sure to use softened cream cheese to ensure a smooth filling with no lumps. If you are short on time, pop the bars in the freezer after cooling at room temperature to speed up the chilling process.
FAQ
Can I use a different type of crust?
Yes. Instead of graham crackers, try crushed vanilla wafers, chocolate cookies, or even pretzels for a salty-sweet combination.
Can I make cheesecake bars ahead of time?
Absolutely. These bars actually taste better after sitting overnight in the fridge. Make them a day in advance and store chilled until ready to serve.
Why did my cheesecake crack?
Cracks can happen if the filling is overmixed or the bars are overbaked. Follow the baking times closely and avoid opening the oven frequently.
Can I double this recipe?
Yes, you can double the ingredients and bake in a 9×13 inch pan. You may need to increase the baking time by 5 to 10 minutes.
We hope you enjoyed this article about cheesecake bars! If it inspired you, we’d love to hear your thoughts—leave a comment and let us know. Don’t forget to pin this article or any image from it on Pinterest to share it with others. And if you like our post on Pinterest, please give it a like—it truly helps us grow and create even better content for you!
Cheesecake Bars
Ingredients
- 1 and 1/2 cups graham cracker crumbs
- 1/4 cup granulated sugar
- 1/2 cup unsalted butter melted
- 16 ounces cream cheese softened
- 2/3 cup granulated sugar
- 2 large eggs
- 1/2 cup sour cream
- 1 teaspoon pure vanilla extract
- 1 tablespoon all-purpose flour
- 1/4 teaspoon salt
Instructions
- Preheat your oven to 325°F (163°C). Line a 9x9 inch baking pan with parchment paper, leaving an overhang for easy lifting.
- Combine graham cracker crumbs and 1/4 cup sugar in a bowl. Add melted butter and stir until mixture resembles wet sand.
- Press the crust firmly into the bottom of the prepared pan. Bake for 10 minutes, then let cool slightly.
- In a large bowl, beat softened cream cheese until smooth.
- Add 2/3 cup sugar and beat until creamy. Beat in eggs one at a time, mixing until just combined.
- Mix in sour cream, vanilla extract, flour, and salt. Beat until smooth and no lumps remain.
- Pour the cheesecake filling over the cooled crust and spread evenly.
- Bake for 30–35 minutes, until edges are set and center is slightly jiggly.
- Remove from oven and cool to room temperature, then chill in the refrigerator for at least 4 hours or overnight.
- When fully chilled, lift cheesecake from pan and cut into 16 squares. Serve and enjoy.
