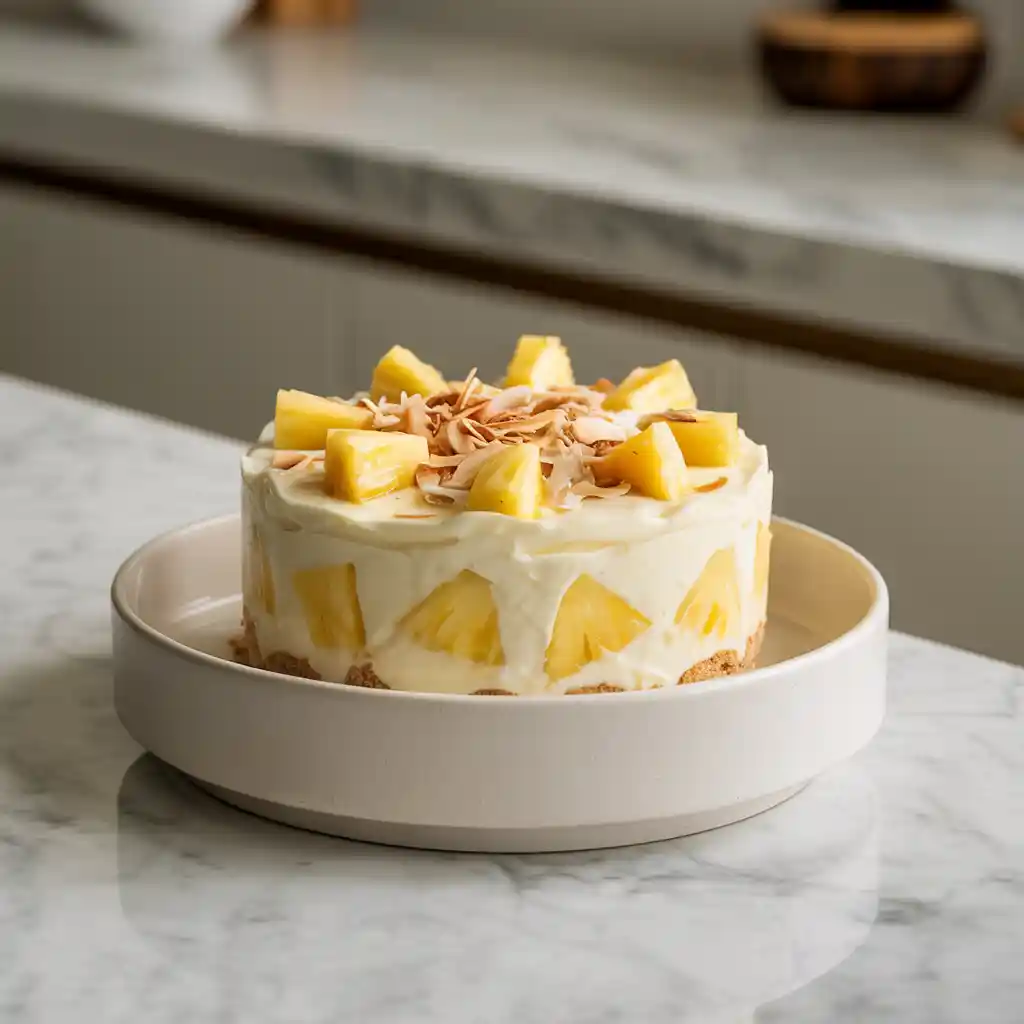
Looking for a quick, refreshing treat that doesn’t require turning on the oven? This no bake pineapple cream dessert is your new go-to! With its creamy layers, tropical flavor, and effortless assembly, it’s the ultimate crowd-pleaser for any occasion—keep reading to discover how easy and delicious it truly is.
| Servings: | 9 |
| Prep Time: | 15 minutes |
| Cook Time: | 0 minutes |
| Total Time: | 4 hours 15 minutes |
| Serving Size: | 1 square |
No Bake Pineapple Cream Dessert
Description
There is something wonderfully nostalgic about chilled creamy desserts that remind you of summers gone by. This no bake pineapple cream dessert is just that kind of recipe — soothing, refreshing, and completely fuss-free. It is a dessert I pull out every time I need a crowd-pleaser without turning on the oven. With each bite, you get a touch of the tropics from sweet pineapple folded into fluffy cream balanced by a buttery graham crust.
What I love most is how this dessert always looks special even though it comes together in minutes. It is forgiving, friendly to substitutions, and endlessly adaptable. My grandma used to make something similar for Sunday dinners, and this version feels like an updated hug from those same memories.
Why You’ll Love This Recipe
- Fast and fuss-free with no oven required
- Perfect for warm weather when you need something cool and creamy
- Kid-friendly and great for potlucks or fridge-raiding moments
- Easily made ahead and stays delicious for days
- Can be customized with other fruits like mango or mandarin oranges
Serving and Storage Tips
Serve this dessert directly from the fridge for the best texture and flavor. I like to use a sharp knife wiped clean between each cut for the prettiest pieces. If you want individual portions, you can layer the crust and cream mixture into small jars or dessert cups for the cutest portable mini treats.
Store leftovers covered in the fridge for up to 4 days. If you plan to take it to a picnic or party, be sure to keep it chilled with an ice pack or cooler since the creamy filling does not hold up well in heat.
Ingredients
- 1 and 1 half cups graham cracker crumbs
- 1 third cup granulated sugar
- 6 tablespoons unsalted butter melted
- 1 package cream cheese softened 8 ounces
- 1 can crushed pineapple drained 20 ounces
- 1 tub whipped topping 8 ounces
- 1 cup powdered sugar
- 1 teaspoon vanilla extract
Equipment
- Mixing bowls
- Electric hand mixer or stand mixer
- Spatula
- 9 by 9 inch baking dish
- Measuring cups and spoons
Instructions
- Make the crust: In a mixing bowl, stir together the graham cracker crumbs and sugar. Pour in the melted butter and stir until it feels like damp sand. Press the mixture into the bottom of a 9 by 9 inch dish using the back of a spoon or your fingers. Press firmly so it sticks well. Chill while you prep the filling.
- Beat the cream cheese: In a large bowl, beat the softened cream cheese using an electric mixer until smooth and lump-free. Starting with softened cream cheese really helps avoid clumps.
- Add sweetness and flavor: Add the powdered sugar and vanilla extract to the cream cheese. Beat again until completely blended and creamy.
- Bring in the whipped topping: Gently fold in the whipped topping until combined. Use a spatula for this rather than beating — you do not want to deflate the air in the whipped topping.
- Mix in the pineapple: Make sure your crushed pineapple is very well drained. I like to press it lightly in a colander with the back of a spoon. Too much moisture can make the filling runny. Fold the fruit into the cream mixture.
- Layer and chill: Spread the pineapple cream mixture over the chilled crust and smooth the top with a spatula. Cover with plastic wrap and refrigerate for at least 4 hours or overnight. This helps the dessert set up nicely so you get clean slices.
- Slice and serve: Once chilled, remove from the fridge and cut into 9 squares. Serve straight up or garnish with a bit of extra pineapple or whipped topping if you like.
Nutrition per serving
| Calories | 320 |
| Protein | 25g |
| Carbohydrates | 3g |
| Fat | 22g |
| Sugar | 0g |
| Fiber | 0g |
| Sodium | 580mg |
If your pineapple is especially juicy, let it sit in a fine mesh sieve for ten minutes before folding it into the cream. A dry filling makes slicing much neater.
FAQ
Can I use Greek yogurt instead of whipped topping?
Yes, you can swap in full-fat Greek yogurt for a tangier and slightly firmer version. I recommend adding a tablespoon of honey or powdered sugar if your yogurt is plain.
What if I only have an 8 by 8 inch pan?
No problem. The layers will be slightly thicker, but it works just fine. You may want to chill a little longer for better setting.
Can I make this dairy-free?
You can substitute the butter with coconut oil and look for dairy-free cream cheese and whipped topping alternatives at your grocery store. Just make sure the substitutes are meant for desserts and have a similar texture.
We hope you enjoyed this article on the no bake pineapple cream dessert! If you did, let us know in the comments — we love hearing from you! And if it’s not too much trouble, please pin the article or any photo from it on Pinterest, and don’t forget to like the pin. It really means a lot to us and helps more people discover our recipes. Your support inspires us to create even more delicious content!


